How to Convert a Touchless Soap Dispenser to Wall Power
Batteries? We don't need no stinking batteries!
Published October 23, 2022
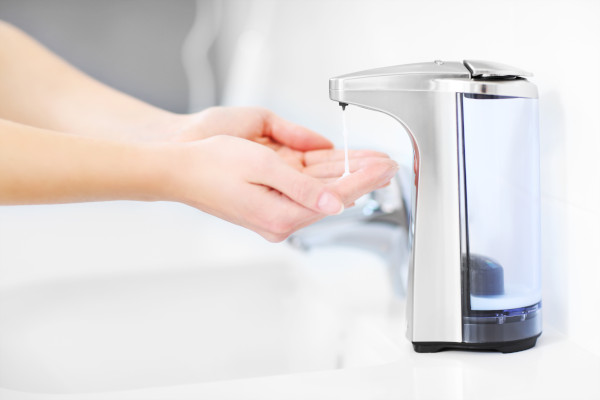
When my wife bought us a battery-powered touchless soap dispenser, it felt like futuristic technology had come to our bathroom. Convenience and hygiene, rolled into one stylish device!
But I soon discovered that this convenient device would eat batteries like a hungry battery Cookie Monster. Tired of having to replace batteries every couple months, I set out to make this dispenser run on wall power, i.e. with an AC adapter. I know wireless everything is all the rage these days, but sometimes you can't beat good old fashioned wires for practicality.
This guide is aimed at converting a Simplehuman Sensor Pump Soap Dispenser, but the general information here should be applicable to other brands of touchless dispensers as well.
Get the right AC adapter
1. First, determine the voltage that the dispenser runs on. Verify whether the batteries are connected in series or in parallel. They will probably be connected in series, but it's important to be sure.
2. The Simplehuman uses four AA batteries connected in series. With batteries connected in series, you add their voltages together. Since each AA battery has a voltage of 1.5V, the Simplehuman thus runs on 6V.
3. You'll need an AC adapter rated at the same voltage (6V for the Simplehuman). Look for a regulated adapter, which is designed to maintain a nearly constant voltage regardless of load. All else being equal, an adapter with higher amperage is more ideal since it'll potentially make more power available to the motor, but I went with a 1A adapter and that worked fine. Regardless of the adapter's amperage rating, the device will only draw as much current as it needs.
Open up the dispenser
4. Remove any batteries currently in the dispenser.
5. Unscrew the 2 short screws on the underside of the dispenser, and the 1 long screw below the neck (near the sensor).
6. Gently pull the top piece away from the rest of the dispenser. Note that the circuit board is attached to the underside of this piece and still has wires plugged into it, so you'll only be able to raise the top piece about half an inch.
7. Detach the front and bottom pieces of the dispenser. Now you'll have access to the internals.
8. There are two connectors plugged into the circuit board: one for power and one for the motor. Unplug the one for the motor (it should have a black and a white wire). This will allow you to completely separate the top and bottom pieces from the rest of the dispenser.
Connect the AC adapter
9. Now we'll cut the power wires. There's a black wire and red wire going from the battery housing to the connector on the circuit board. Using wire cutters, cut both wires about 2 inches below the connector. This will leave us enough room to strip the wires and splice in the AC adapter wires.
10. Strip the 2 wires that you just cut.
11. There's enough room to run the AC adapter wire up behind the battery housing (in the space between the battery housing and the soap reservoir). We'll run the wire up through the bottom of the dispenser, so we'll need to drill a small hole in the bottom piece to run the wire through. Drill the hole just big enough for the wire to fit snugly.
12. Cut the plug off the end of the AC adapter. Now feed the end of the wire through the hole we made in the bottom piece. Note that we're feeding it through before stripping the wires in order to make it easier to push through.
13. Now cut back the sheathing at the end of the AC adapter wire, exposing the 2 wires inside. Strip both wires.
14. Splice each AC adapter wire with its corresponding wire going to the connector on the circuit board. Be mindful of polarity! Red connects to red, and black connects to black. I found that there wasn't enough space inside the unit to use wire caps, so I just twisted the wires together and wrapped them with electrical tape.
Reassemble everything
15. As usual, assembly is the reverse of disassembly. When you're fitting the pieces of the dispenser back together, make sure that the wires and soap tube don't get pinched between anything.
16. Once everything is reassembled, tuck the AC adapter wire under the rear of the dispenser and plug it into the wall. Turn on the dispenser (if it isn't already) and test it out. Hopefully everything will work as it did before, except now you won't have any more pesky batteries to fuss with!