Advanced Tips for Gluing PVC
How to get clean, trouble-free joints
Published August 16, 2022
Gluing PVC is at the heart of any major irrigation project. Technically, pipes and fittings are held together not by glue, but by a solvent weld that creates a watertight bond. A proper gluing job (sorry, saying "solvent welding" just doesn't roll off the tongue) will help prevent your joint from leaking or even completely failing.
Below is the procedure for gluing PVC, assuming you're using one of those 2-packs with a can of primer and a can of cement. I've interspersed tips that I've picked up from gluing more joints than I care to count.
Preparation
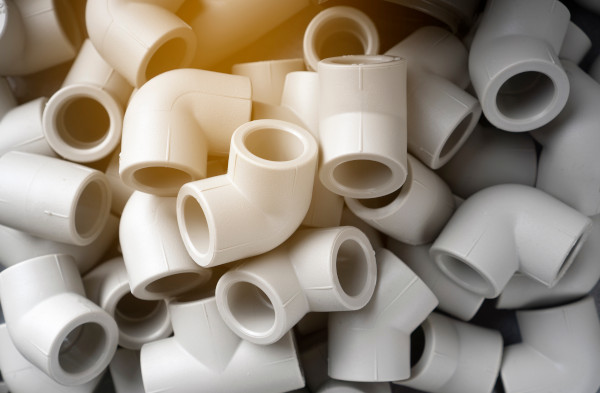
1. Make sure the end of your pipe and the inside of your fitting are clean and dry. You want the solvent to be coming in contact with the PVC material, not dirt.
2. If the end of the pipe has a rough edge, give it a quick sanding. This is known as deburring and will help the solvent spread more evenly when the pipe is pushed into the fitting. I've found that medium grit sandpaper works well.
3. If the fitting needs to be joined at a specific angle, dry-fit the pipe and fitting together at the desired angle, then use a Sharpie to draw a straight line across the pipe and fitting. This will help you line them up later when gluing. Primer will dissolve any marker ink it comes in contact with, so you should draw your line extra long on the pipe so that there will still be some line left after priming.
4. Do your gluing in a well-ventilated area, ideally outside. I recommend a mask of some sort to reduce the fumes you'll be breathing in.
It's glue time
5. Using the brush inside the can, stir the cans of primer and cement, respectively.
6. Now use the primer brush to swab a few times inside the fitting, then a few times around the pipe, then a few times inside the fitting again. Try to get thorough coverage. The primer tends to pool at the bottom of the fitting, so I like to start swabbing from the top of the fitting when the brush has the most primer on it.
7. Now get the cement brush. You don't need a ton of cement, so you can let excess cement drip back into the can, and you can tap the brush against the inside of the can to help with that. But try to do this quickly, before the primer dries out.
8. Now swab a few times with the cement brush. Start with the pipe first this time, then do the fitting, then the pipe again.
9. Now push the pipe into the fitting as far as it will go. While you're doing this, give the pipe a quarter turn, which will help spread the solvent more evenly. Try to do these simultaneously, rather than doing a quarter turn after the pipe has bottomed out.
10. Keep applying pressure, holding the pipe and fitting together for 30 seconds. This allows time for the weld to occur. If you let go too soon, the layer of solvent can cause the pipe to be pushed out of the fitting.
11. Use a paper towel to wipe the excess solvent off the fitting; try not to let it drip onto the rest of your project. Excess solvent serves no purpose and can weaken the PVC, so it's best to get it off. Plus, it'll make your gluing job look that much cleaner.
12. You can even wipe the excess solvent from inside the fitting, if it's accessible (i.e. if your fitting still has an opening you can get a paper towel through).
Repeat and test
Repeat steps 6 through 12 for each joint you need to make. See the instructions on the can to see how long you should wait before pressure testing. If your joints will be subjected to high or continuous pressure, it might be good to wait longer than the recommended amount of time. Pressure test for several minutes and ensure that all joints are leak-free.